WSL2上のDockerでStable Diffusionのimg2imgを動かす
前提条件
前回の内容のCUDA on WSLのインストール
nvidiaのインストールまでは済ませておく
dokcer-composeの実行
- フォルダ構成
work
├── Dockerfile
├── docker-compose.yml
├── src
│   ├── sample.py
- DockerComposeの編集
    version: '3.6'
    services:
    cuda:
        build:
        context: .
        dockerfile: Dockerfile
        runtime: nvidia
        environment:
        - NVIDIA_VISIBLE_DEVICES=all
        tty: true
        volumes:
        - ./src:/src
        working_dir: /src
- Dockerfile
    FROM nvidia/cuda:11.7.0-devel-rockylinux8

    RUN yum update -y
    RUN yum groupinstall "Development Tools" -y
    RUN yum install openssl-devel libffi-devel bzip2-devel wget git-lfs -y

    WORKDIR /root

    SHELL ["/bin/bash", "-c"]

    RUN wget https://repo.anaconda.com/miniconda/Miniconda3-4.7.12.1-Linux-x86_64.sh
    RUN bash Miniconda3-4.7.12.1-Linux-x86_64.sh  -b -p /opt/miniconda3
    ENV PATH /opt/miniconda3/bin:$PATH
    RUN conda init bash
    RUN conda update -n base -c defaults conda

    WORKDIR /work
    RUN mkdir stable-diffusion

    WORKDIR /work/stable-diffusion
    RUN git init
    RUN git pull https://github.com/basujindal/stable-diffusion.git

    RUN conda env create -f environment.yaml

    ENV CONDA_DEFAULT_ENV ldm
    RUN echo "conda activate ldm" >> ~/.bashrc
    ENV PATH /opt/conda/envs/ldm/bin:$PATH

    RUN conda install pytorch torchvision -c pytorch

    SHELL ["conda", "run", "-n", "ldm", "/bin/bash", "-c"]

    RUN pip install transformers==4.19.2 diffusers invisible-watermark
    RUN pip install -e .
sample.pyの編集
    import torch

    print(torch.cuda.is_available())
docker-compose up を行う
起動したコンテナにアタッチしてimg2imgを実行する
- modelのダウンロード
 cd /work
 git clone https://huggingface.co/CompVis/stable-diffusion-v-1-4-original

 mkdir -p /work/stable-diffusion/models/ldm/stable-diffusion-v1/
 ln -s /work/stable-diffusion-v-1-4-original/sd-v1-4.ckpt /work/stable-diffusion/models/ldm/stable-diffusion-v1/model.ckpt
huggingfaceにユーザ登録をしておく
403エラーになる場合にはここにアクセスしてライセンスに同意する必要がある
- img2imgの実行
 cd /work/stable-diffusion/
 python scripts/img2img.py --prompt "Anime" --init-img stable-diffusion/inputs/test.png --strength 0.6 --n_samples 5 --H 512 --W 512
input file
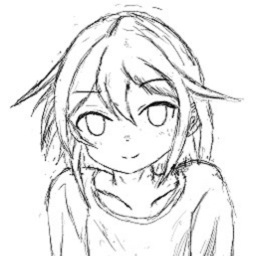
test.jpg oupput file
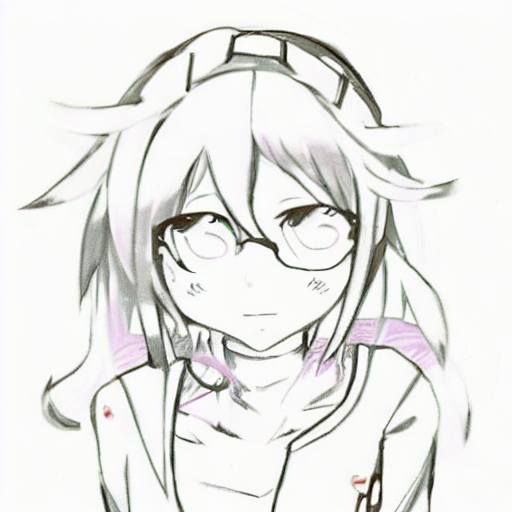

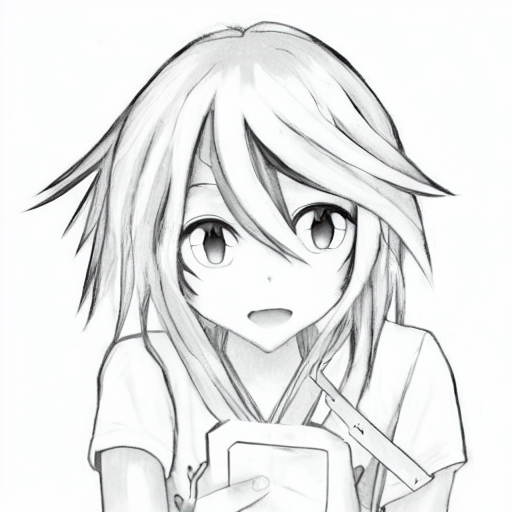
output